25 December 2020

Holiday Yule Log Card

 Hola everyone! Merry Christmas! I popped in to share a card I created with the 1950s Hero Arts Television Fancy Die Set. 

When I first saw this set a few months ago, I immediately knew I wanted to use it for a Holiday Yule log card. Growing up in New York City, I remember on Christmas Eve and Christmas Day, WPIX 11 aired a film loop of a burning Yule log accompanied by Christmas music. The show was about 2 hours long- without commercial interruption. 

To create my card, I die-cut the television 8 times using Chestnut cardstock and adhered them in a stack. This gives the television depth. With the scraps, I die-cut two logs and colored them with E29 Copic marker. I covered the antenna base with Bronze Metallic Ink. I used a heat tool to dry the metallic ink quickly. 

Next, I die-cut the flames 3 times in Cherry and Canary cardstock. I then adhered the Canary flames onto the Cherry flames, letting a bit of the Cherry cardstock show. KI then adhered the flames onto the logs.

With the scraps of Canary cardstock, I die-cut the fireplace log grate once and the antennas two times. I colored the grate with W9 Copic marker. I covered the antennas with Pewter Metallic Ink. I glued the antennas to the back of the antenna base. 

Next I embossed Sand Cardstock with the Tim Holtz "Bricked" Embossing folder. Once done, I lightly brushed over it with Wet Cement and Intense Black inks. I cut the cardstock to fit the television screen and adhered it to the back.  I then embossed a design onto Palm cardstock and cut it to 3 3/4" X 4 1/2" and matted it with Mustard cardstock. Turning a top-folding card base to landscape, I adhered the panel.  

I arranged the log grate, logs and flames onto the brick screen and adhered it to the card. I colored the knobs with Copic Markers. 

I stamped and adhered a sentiment from the Retro Christmas Messages Set to complete my card! 

Creating this Yule log cards brought back great Christmas memories. 

Thanks for taking a peek! Have a safe and happy Christmas! 


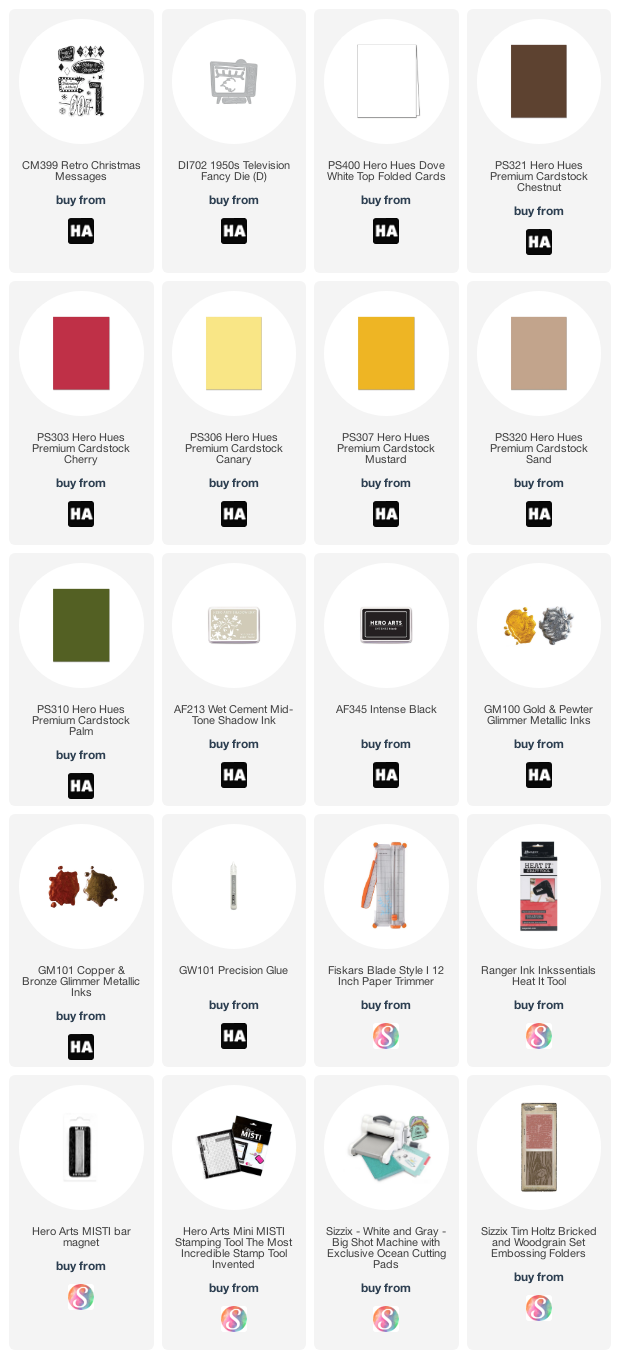
SUPPLIES: 

If you are inspired to shop Hero Arts and products I used to create my Holiday Yule log Card-compensated affiliate links are listed below. I will receive a small portion of any product purchased at no additional cost to you-Thank you.
21 December 2020

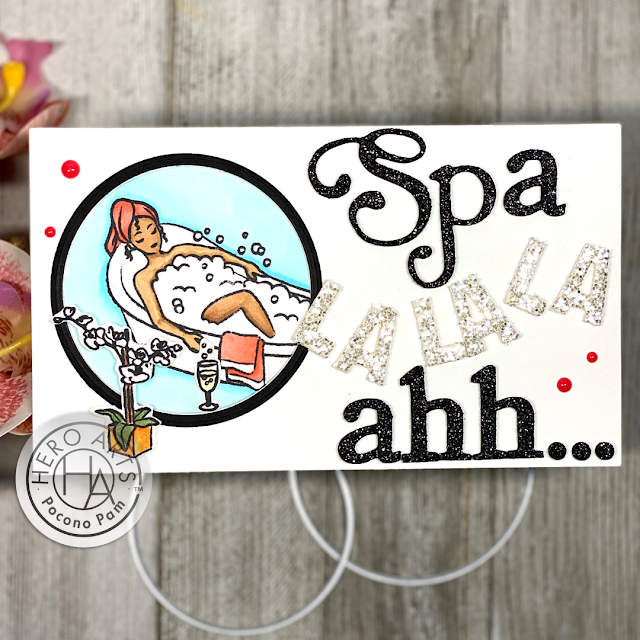
SPA LA LA LA AHHH-MINI SLIMLINE CARD

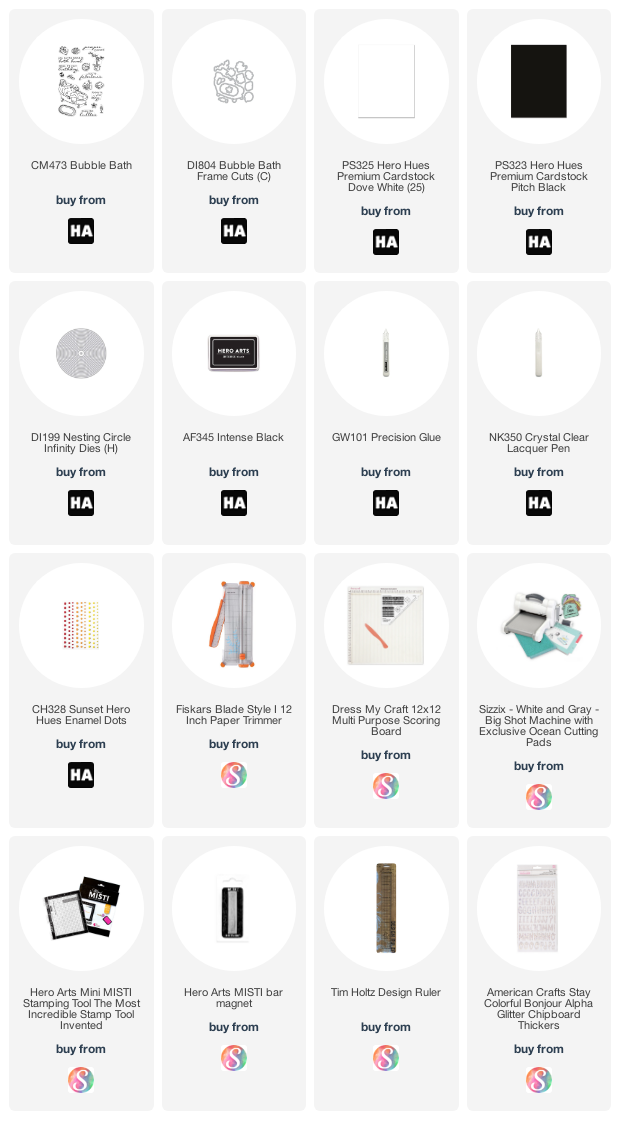
 Hola everyone! Today, I am sharing a clean and simple mini slimline card I created using the Hero Arts Bubble Bath stamp and coordinating frame cuts sets. 

I started by cutting Dove White cardstock to 7" X 6", scoring and folding along the 7" side at 3 1/2"- resulting in a mini slimline card base of 3.5" X 6".

I wanted to create a card that would hold a gift certificate or gift card and the mini slimline is the perfect size. 

I stamped and colored images from the set onto Dove White cardstock. Next, I die-cut the plumeria and champagne glass with their coordinating Bubble Bath Frame Cuts. I then die-cut the woman enjoying her bubble bath with a Nesting Circle die. I die-cut the next largest circle in Pitch Black cardstock

I adhered the two circle die-cuts and placed them onto the card base. Next I added the champagne glass and plumeria with precision glue and foam tape. 

I have been hoarding various Thickers alphabet stickers and thought they would be perfect for this card. I arranged " Spa La La La ahhhh..." a nod to Deck The Halls, onto the card base. 

To complete the card, I added a few Sunset enamel dots and placed crystal clear lacquer onto the champagne bubbles. 

Thanks for taking a peek at my mini slimline card. Enjoy the rest of your day. 


SUPPLIES: 

If you are inspired to shop Hero Arts and products I used to create my mini slimline card-compensated affiliate links are listed below. I will receive a small portion of any product purchased at no additional cost to you-Thank you.

19 December 2020

THREE ROOM STUDIO SATURDAY CHALLENGE #16


Hola everyone! Today's Three Room Studio Challenge is: ANYTHING GOES.  For today's challenge, I was inspired by the Pure Leaf Mango Hibiscus tea bottle. I used the Mom's Hibiscus clear stamp set to create my card. 


I cut Pitch black cardstock to 3 3/4" X 5 1/4" and adhered to an A2 Dove White top-folding card base. 

Next I stamped Mom's Hibiscus three times and colored them with YR12, R14, R17 & R27 Copic Markers. Though this sweet stamp set has a coordinating die, I chose to fussy cut the hibiscus, thus enabling me to remove a few of the leaves. Also, my die-cutting skills leave much to be desired and I did not want to ruin my beautiful flowers! 

Next, I adhered the hibiscus to the black panel, raising the center one with a foam square. 

I stamped sentiments from Three Room Studio's Simple Sentiment set with white ink. To finish my card, I added yellow enamel dots. 


I love how my card turned out! Do you use items as inspiration for cards or other projects? Let me know. 


Thanks for taking a peek! Enjoy the rest of your day! 


18 December 2020

Rainbows for Erica-IG Hop

 Today I am taking part in an Instagram hop to send some much needed support to @erica_cacacraft. 

Erica has recently suffered a loss which has hit her hard, seeing her hurting has left us fellow crafters feeling helpless. She is such a bright star in the craft industry and we want to uplift her and show her how much she means to us all.


I colored this adorable Rainbow Nordic Gnome on iPad Pro, using Procreate. He was created by friend and fellow paper crafter Patricia and can be found on her Etsy site by clicking HERE

To join the Instagram hop...please Click HERE.

Thanks for taking a peek! 


14 December 2020

Sending Good Vibes


Hola everyone! I am sharing a card using the new Hero Arts Good Vibes clear stamp set. I can remember seeing peace signs everywhere as a child: bags, billboards, notebooks, jackets and a lot of t-shirts.


The Good Vibes set also includes six sentiments and other great images to spark your creativity.


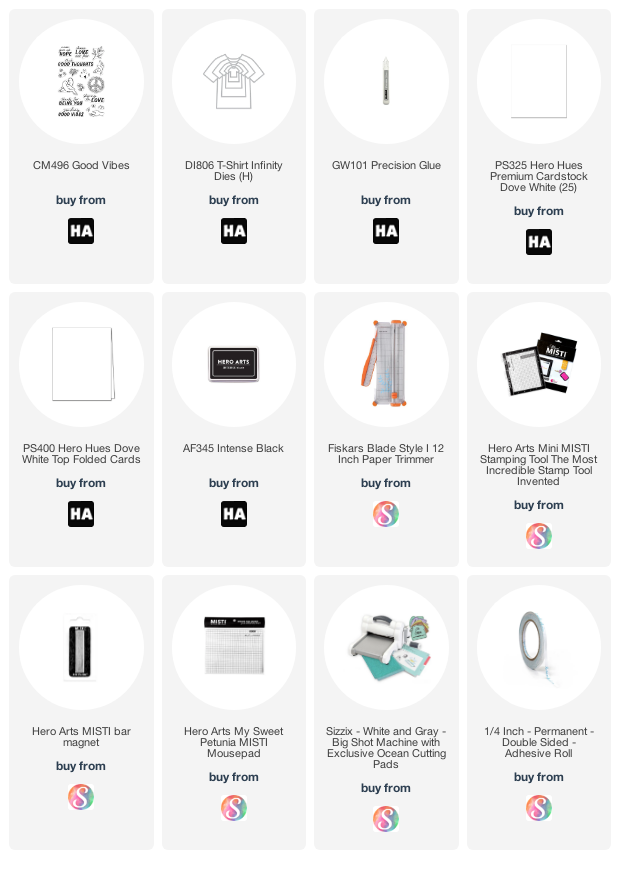
To create my clean and simple card, I first stamped the floral peace sign in Intense Black ink onto Dove White Cardstock. I colored it in with several Copic markers.


Next, I placed the peace sign onto my die-cutting machine. I centered it inside of the T-Shirt Infinty Die and cut it out. 


Then opening the top-folded card base, I placed one side into an embossing folder and ran it through my die-cutting machine.


I adhered the T-shirt with precision glue and double-sided tape. I did this to ensure the t-shirt would stay put on the embossed card base.


I stamped the floral peace sign inside card. I then stamped the sentiment onto a scrap piece of cardstock, trimmed it and placed it onto the floral peace sign.  


I think my card is pretty groovy! I hope that you will give it a try.


Thanks for taking a peek. 


SUPPLIES: 

If you are inspired to shop Hero Arts and products I used to create my tag-compensated affiliate links are listed below. I will receive a small portion of any product purchased at no additional cost to you. 


11 December 2020

THREE ROOM STUDIO SATURDAY CHALLENGE #15


Hola everyone! Today's Three Room Stdio Challenge is: USE PATTERNED PAPER.  I used the YAY clear stamp set with coordinating dies to create my card. I found scraps in my stash to create the design. As you can see, I got black ink on the card. I have a habit of not covering my stamp pad! ARRRRRRGH!  


I usually struggle with card designs when there is patterned paper involved. Fortunately, there are many card sketches online to spark your creative juices. This design came together pretty quickly. 


Thanks for taking a peek at my card today!

Please visit the Three Room Studio Blog for more inspiration and information on how to participate in the Saturday challenge. One lucky winner a month will win a $15 gift certificate to the Three Room Studio Shop


09 December 2020

Peek-A-Boo Tiffany's Theme Gift Tag

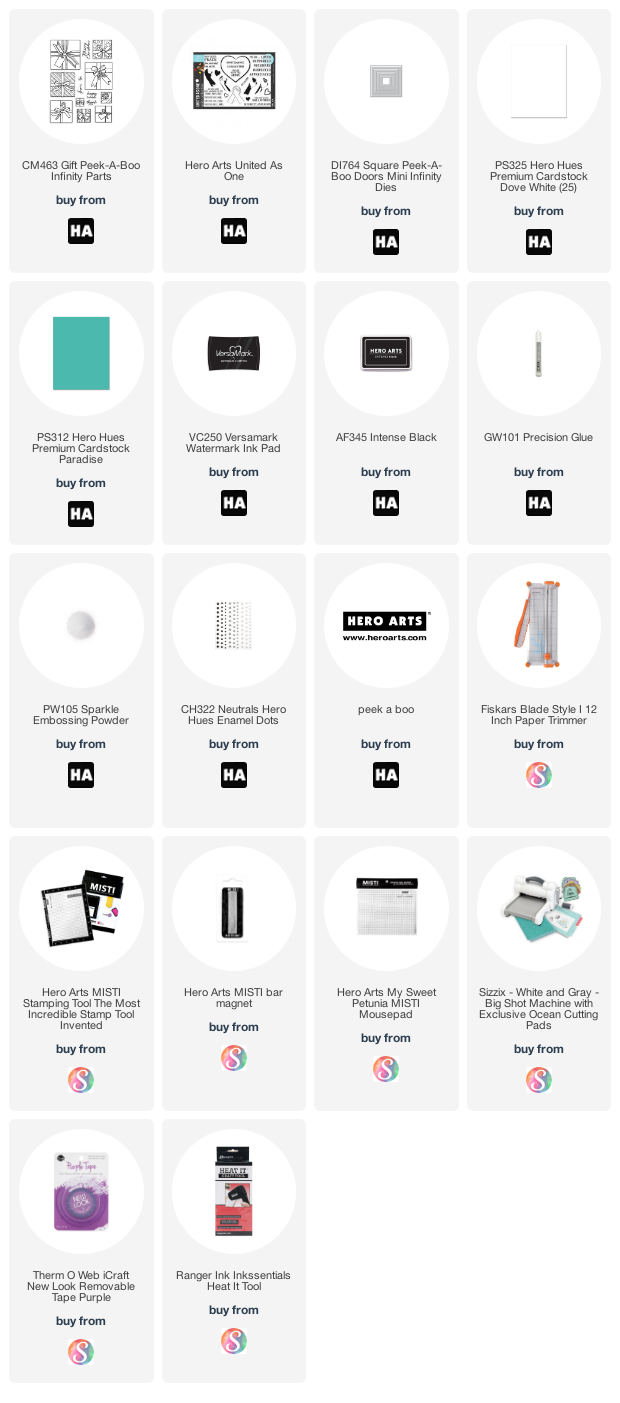
 Hola everyone! Pocono Pam here sharing a Tiffany's theme gift tag I created with the fun and versatile Gift Peek-A-Boo Infinity Parts clear stamp set.  This set can be used alone or with the Square Peek-A-Boo Doors Mini Infinity Dies.  


For my tag, I first created a tag base with Dove White Cardstock using one of the Tag Infinity dies. I chose the die that would fit the gift boxes I wanted on my tags. 

Using the same size die, I cut a tags Paradise cardstock. I assembled three gift boxes from the set and stamped them onto the Paradise cardstock tag with Versamark Watermark Ink. 

I then heat embossed tag with Sparkle Embossing Powder. 

Next, with my die cutting machine, I created different size door openings for the gift boxes using the coordinating Square Peek-A-Boo Doors Mini Infinity dies. The dies include a partial emboss line that creates the door. This allows the door to open in the direction you like. I use washi or purple tape to keep the dies in place.  

I placed the Paradise tag face down onto my MISTI stamping tool, and positioned the “To” and “From” stamps onto the middle and bottom doors. I placed a heart from the United As One stamp set onto the top door. 

Next, I closed the door to my MISTI and my stamps were positioned perfectly. Using Intense Black Ink, I stamped onto the white tag. 

I colored the heart with BG13 Copic Marker and adhered the Paradise tag to the Dove White tag with Precision Glue. When doing this, be mindful not to place glue on the doors. 

What's a Tiffany's box without the white bow right?  I colored the bows with a white gel pen and the bells with W1 Copic Marker. 

I completed the tag with white enamel dots and ribbon. 

If you would like to take a peek at other gift tags I created with the Gift Peek-A-Boo Infinity Parts clear stamp set- CLICK HERE

I hope you are inspired to give these tags a try. There are several  Peek-A-Boo products available in the Hero Arts shop for you to explore. 

Thanks for taking a peek! Enjoy the rest of your week!


SUPPLIES: 

If you are inspired to shop Hero Arts and products I used to create my tag-compensated affiliate links are listed below. I will receive a small portion of any product purchased at no additional cost to you. 

07 December 2020

Hero Arts December 2020 My Monthly Hero Release Blog Hop

 Hola everyone! Pocono Pam here! Thanks for joining Hero Arts in celebrating the December 2020 My Monthly Hero Kit Release. If you hopped over from the talented Mindy Eggen you are in the right place.


Today I am sharing a clean and simple card I created using the HOPE die included in the kit. It came together quickly and I hope you will give it a try.


To begin, I grabbed Pitch Black cardstock and cut the shadow portion of the die and set it aside. Next, I centered “HOPE” inside if the shadow die and cut it out of Dove White cardstock.  I then adhered it to the shadow.  I then I cut “HOPE” out of the bronze glitter sheet. This beautiful heavy weight glitter sheet is one of three included in the My Monthly Hero September 2020 Kit. (still available for purchase)  


I gently inlaid the glittered bronze rays into the letter “O” with precision glue. Next, I adhered  HOPE onto the 3"X 5" card base and completed it with a few enamel dots.    

​ 

I hope you enjoyed my clean and simple card.  Next on the hop is the awesome Seeka

Thanks for taking a peek.


GIVEAWAY: Leave comments as you hop - one reader will be randomly selected to receive a $50 gift card to use in the Hero Arts store! The more blogs you comment on, the more chances to win! Leave your comments on all of these blogs by Sunday, December 13th at 11:59pm pacific, and the winner will be announced on the Hero Arts blog the following week.


Here is the complete list of the Hero Arts Creative Team and our talented crafty friends sharing cards from the December 2020 My Monthly Hero Kit 


 December 2020 My Monthly Hero Kit:
Pre-order your kit today 
We estimate kit shipping will begin Friday, December 11th 
and continue throughout the following week.


SUPPLIES: 

If you are inspired to shop Hero Arts and products I used to create my card-compensated affiliate links are listed below. I will receive a small portion of any product purchased at no additional cost to you. 


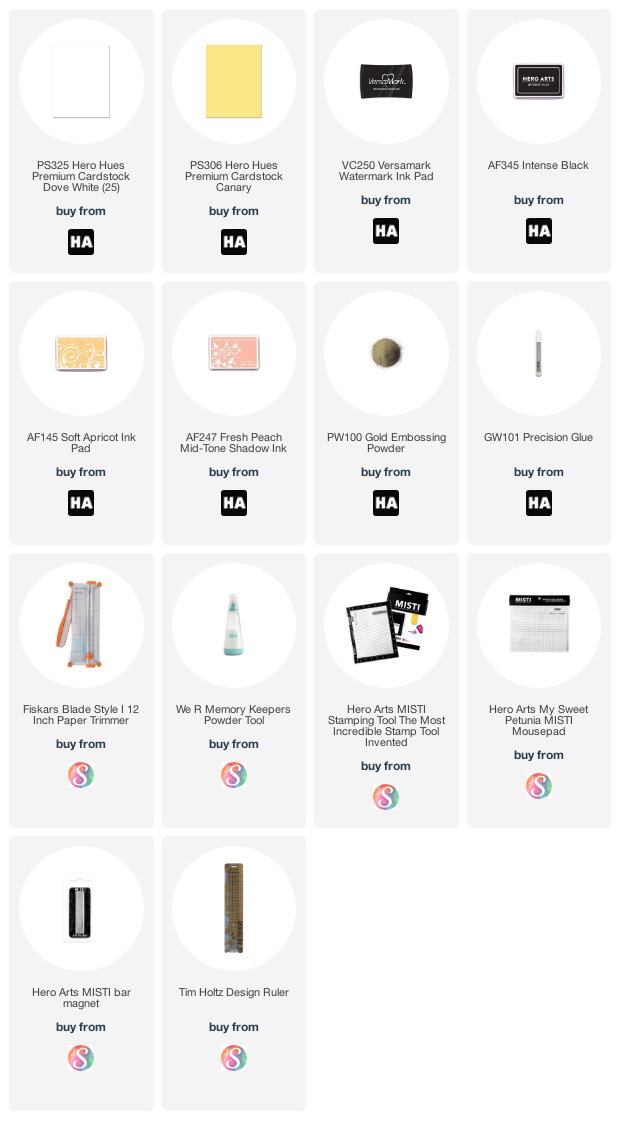
05 December 2020

Hero Arts December 2020 MMH Countdown & Giveaway


Hola everyone! Today, I am sharing a card as part of Day 2 of the countdown to the release of the 
Hero Arts December 2020 My Monthly Hero Kit

I loooove clouds! And there are plenty in the layering heroscapes stamp included in this month's kit! I imagine all of the great color combos that can be used to create amazing scenes! 


To create my card, I laid down the sky with B000 & B00 Copic markers onto Dove White cardstock. I the prepped the cardstock for heat embossing with my powder tool.


After stamping the large sunray from the set onto the “sky” with clear Versamark watermark, I heat embossed the sunray with Hero Arts Gold Glitter embossing powder. (Yep… -I still giggle when I see it change!)


Next I added to the rays with Y11 and Y13 Copic markers.   Then…the fun part. I stamped one layer of the clouds with Fresh Peach ink and the second with Soft Apricot ink. I stamped the birds with Intense black ink.  I then added a bit more Y11 to fill in some of the white space in the clouds. I cut the cardstock to a 2 3/4" X 4 1/4" panel and matted it with Canary cardstock.


I stamped the sentiment onto a 3/4" X 2 1/2" strip of Canary cardstock and matted it with Dove White cardstock. I adhered the sentiment to the card-then adhered the panel to a 3 1/2" X 5" Dove White card base.  


I love how the card turned out and hope you will give it a try. 


WIN A KIT BEFORE YOU CAN BUY IT: Just leave a comment on this (and every) Countdown to Creativity post. We'll randomly draw one lucky winner from all the comments left across all countdown posts. The winner will be announced Monday, December 7th at 10am Pacific/1pm Eastern. The more you comment, the more chances to win. Good luck!
I hope I have inspired you today! Please stop by the Hero Arts blog to see the other creative team member's creations. Don't forget to come back on Monday to check out the full release! 
Thanks for taking a peek! Enjoy the rest of your weekend! 

SUPPLIES: 
If you are inspired to shop Hero Arts and products I used to create my card-compensated affiliate links are listed below. I will receive a small portion of any product purchased at no additional cost to you.

04 November 2020

United As One -AWARENESS


Hola everyone! I created cards for A Warriors Mission is a charity that offers domestic violence support services in addition  to other reseourses. I used the United As One set-part of the UNITY COLLECTION: a collaboration with Hero Arts Dana Joy  and myself. 

I added depth to the Simon Says Stamp Awareness Ribbon die with copics. 


If you would like to make a card for A Warriors Mission  to give to a man. women or child in need of encouragement, please let me know

Thanks for taking a peek! Have a great rest of your day. 

SUPPLIES
If you are inspired to shop Hero Arts and products I used to create my cards-compensated affiliate links are listed below. I will receive a small portion of any product purchased at no additional cost to you. 

Thanks for taking a peek!!! 


I use an Akron Mount and other accessories to take pictures of my projects. Click HERE to take peek at their great products! 


Use Promo Code: TABLESCRAPS  for a 20% discount. 


27 October 2020

Hello Beautiful -with MFT Friends Forever & Ever

 Hola everyone! Today I am sharing a card I created with My Favorite Things clear stamp set Friends Forever & Ever. I totally love the little girl's curly hair and little puffs! She has a coordinating die that leaves a nice border. 


To create the card, I stamped the image onto Neenah Solar White cardstock and colored her in white my Copic Markers. I stamped the image again onto a scrap piece of patterned paper so I could paper piece the sweater. 

Next I die cut the image and glued her onto a white panel. I then stamped the sentiment and added the shadow under the image. 


I then added pearl embellishments from Little Things From Lucy's Cards to the little girl's hair and the bottom of the panel. The "ponytail holder" or bolitas as we called them in our house- brought back such great memories of when my girls were younger. 

Using a small paper punch, I punched small hearts out of the Over the Rainbow patterned paper and adhered them to the card panel. I then placed the panel onto the plaid paper mat. I completed the card by adhering the mat assembly to the Ripe Raspberry cardstock card base. 


I am a paper hoarder-The paper I used for the sweater and mat are no longer available on My Favorite Things, however; there are other awesome options!  


Thanks for taking a peek at my card! Enjoy the rest of your day! 


SUPPLIES: 

If you are inspired to shop My Favorite Things and products I used to create my card-compensated affiliate links are listed below. I will receive a small portion of any product purchased at no additional cost to you

24 October 2020

Three Room Studio Saturday Challenge #8-Use Green & Red


Hola everyone! Today's Three Room Studio's Saturday Challenge is-USE GREEN & RED. I used the "Retail Therapy" clear stamp set to create my Target inspired card. 


To create my card, I started by stamping the image onto Neenah Solar white cardstock coloring it with Copic Markers. I then fussy cut it and set it aside. 

I then used several Hero Arts nested circle dies to create the bullseye with Cherry cardstock and adhered it to the upper right hand corner of a 4" X 5 1/4" panel. 

I then stamped the sentiments from the Retail Therapy set onto the panel and I adhered the image. I added red embellishments then adhered the panel onto a 4 1/4" X 5 1/2" black card base. 

I love how the card turned out. I may attach a Target gift card inside and give as a Secret Santa gift. My friend Dana suggested I re-create the card using other big box store logos and adding their gift cards as well.


Thanks for taking a peek at my card today!

Please visit the Three Room Studio Blog for more inspiration and information on how to participate in the Saturday challenge. One lucky winner a month will win a $15 gift certificate to the Three Room Studio Shop